

0
Owner's of the Tripp Lite Switch NETDIRECTOR gave it a score of 0 out of 5. Here's how the scores stacked up:
24
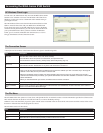
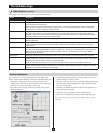
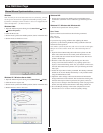
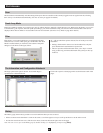
The OSD Main Page
Manual Mouse Synchronization (continu ed )
Windows
Note: In order for the local and remote mice to synchronize, you must
use the generic mouse driver supplied with the MS operating system.
If you have a third party driver installed - such as one supplied by the
mouse manufacturer - you must remove it.
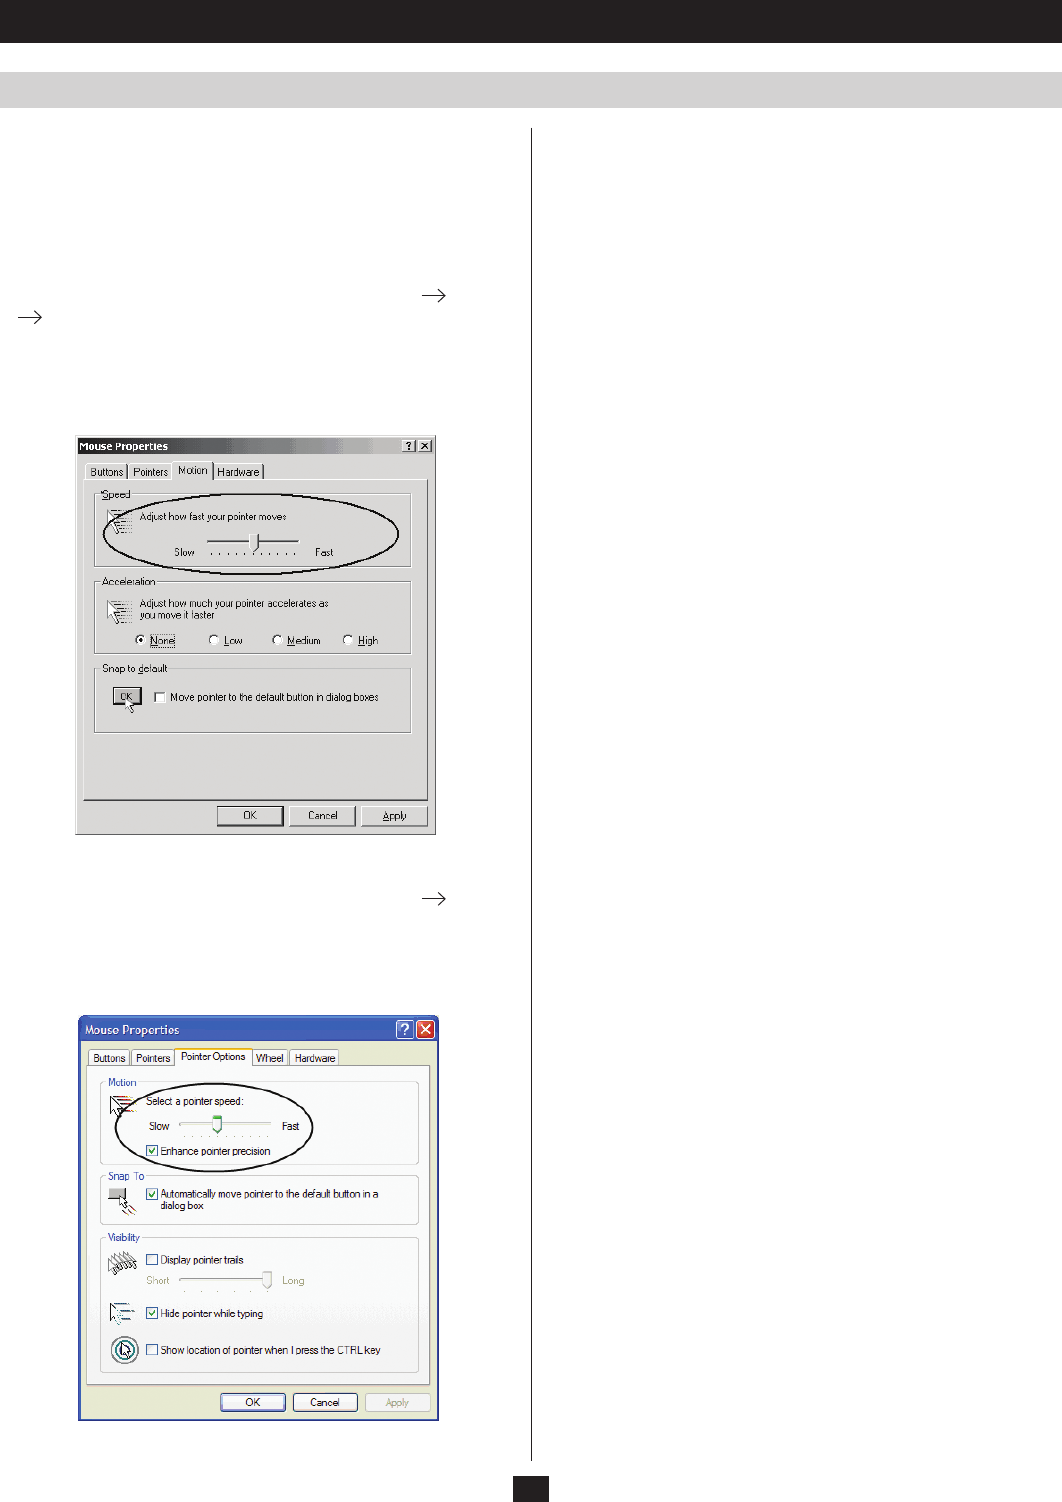
Windows 2000:
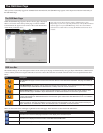
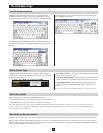
1. Open the Mouse Properties dialog box (Control Panel Mouse
Mouse Properties)
2. Click the Motion tab
3. Set the mouse speed to the middle position (6 units in from the left)
4. Set the mouse acceleration to None
Windows XP / Windows Server 2003:
1. Open the Mouse Properties dialog box (Control Panel Mouse)
2. Click the Pointer Options tab
3. Set the mouse speed to the middle position (6 units in from the left)
4. Disable Enhance Pointer Precision
Windows ME:
• Setthemousespeedtothemiddlepositionanddisablemouse
acceleration. (Click the Advanced button to get the dialog box for
this)
Windows NT / Windows 98 / Windows 95:
• Setthemousespeedtotheslowestposition.
Sun / Linux
Open a terminal session and issue the following command:
Sun: xset m 1
Linux: xset m 0
If you are having syncing problems after adjusting the mouse
properties, try the following methods to help synchronize the local
and remote mouse pointers:
Note: Mouse synchronization may take several seconds to take effect.
Wait for 15 to 30 seconds to make sure it has had enough time to
sync.
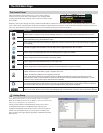
1. Open the Control Panel and position the mouse pointer over the
black area at the bottom of the control panel. Hold it there for a
few seconds and move it back into the remote screen. The mouse
pointers should align.
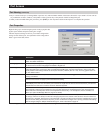
2. Perform a Video Auto Sync by right-clicking over the Video
SettingsiconintheControlPanel;or,byopeninguptheVideo
Options screen and clicking on the Auto Sync button. In most cases,
the local and remote mouse pointers will sync following the Video
Auto Sync.
3. Invoke the Adjust Mouse hotkey command. This hotkey command
defaults at F8, F7, F6. Hotkey functionality is only available when
using the AP Windows Client.
4. Adjust the video settings to decrease the amount of information
being transferred over the network. The less data that is being sent,
the faster the response time. In particular, the Quality and Color
Depth Control settings in the Video Settings screen (see page 21 for
details) can help decrease the amount of data being transferred.
5. Go to the Display Settings in the remote computer/server and
decrease the screen resolution and Color Quality settings.


Find Your Products By Category
- Home Audio
- Computer Equipment
- Photography
- TV and Video
- Household Appliance
- Communications
- Car Audio and Video
- Automotive
- Cell Phone
- Portable Media
- Kitchen Appliance
- Fitness & Sports
- Lawn and Garden
- Musical Instruments & Equipment
- Power Tools
- Personal Care
- Marine Equipment
- Video Game
- Baby
- Laundry Appliance
- Outdoor Cooking
Please Login
